
You just got a new customer. Someone paid you money, signed up for your service, or joined your program. Now what?
Most small businesses send a receipt and call it a day. Then they wonder why churn is high, why customers seem confused, and why half of them never actually use what they bought.
A well-built onboarding email sequence fixes all three of those problems. It turns the moment of purchase into the start of a relationship, not just the end of a transaction.
This guide walks you through how to design, write, and automate a customer onboarding sequence that gets new buyers activated, engaged, and positioned to stick around long-term.
Why Onboarding Emails Matter More Than You Think
The first 30 days after a purchase are the highest-risk window for any customer relationship. Research from the email marketing industry consistently shows that customers who experience strong onboarding have higher lifetime value, higher retention rates, and are more likely to refer others.
The problem is that most small business owners treat onboarding as a logistics task (“send them the login details”) rather than a conversion task. Onboarding emails aren’t just about delivering access. They’re about:
- Confirming the customer made the right decision (reducing buyer’s remorse)
- Getting them to their first win as fast as possible
- Building the habit of engaging with your product or service
- Pre-empting the most common questions and objections before they become reasons to cancel
Done right, your onboarding sequence is one of the most valuable automations your business can run. It works 24/7, scales infinitely, and doesn’t require a customer success team to execute.
The Anatomy of a High-Performing Onboarding Sequence
Most effective onboarding sequences run 5 to 7 emails over the first 14 to 30 days. The exact length depends on your product complexity, but the structure follows a consistent pattern: confirm, orient, activate, deepen, convert.
Here’s how each email serves a specific purpose.
Email 1: The Confirmation + Welcome (Send Immediately)
This goes out the moment someone completes their purchase or signup. The job of this email is simple: confirm the decision was right and tell them what happens next.
What to include:
- A genuine thank you that doesn’t feel robotic
- Confirmation of what they purchased or signed up for
- Clear next step (click here to access, download the guide, schedule your call)
- What they can expect in the coming days
Subject line examples:
- “Welcome to [Business Name] — here’s how to get started”
- “You’re in. Here’s your first step.”
- “Your [product name] is ready — let’s get you set up”
Keep this email short, warm, and action-oriented. One clear CTA only.
Email 2: The Orientation Email (Day 1 or 2)
Your new customer knows they’re in. Now they need to know how to navigate what they’ve bought. This email prevents the “now what?” paralysis that causes early churn.
What to include:
- A quick map of what’s available to them
- The most important thing to do first
- Where to go if they have questions
Subject line examples:
- “The 3 things to do first inside [Product Name]”
- “Your quick-start guide is here”
- “Start here (most people skip this and regret it)”
This is especially important for software products, membership sites, courses, and service packages where there’s more than one thing the customer could do. Reduce decision fatigue by telling them exactly where to start.
Email 3: The First Win Email (Day 3 to 5)
This is one of the most underused emails in any sequence, and one of the most powerful. Your goal is to help the customer achieve a small, early win with your product or service.
It doesn’t need to be a big win. It just needs to be real. A customer who experiences progress in the first week is exponentially more likely to stay than one who doesn’t.
What to include:
- A specific, achievable action they can complete in under 10 minutes
- Why this first step matters
- Social proof or a short case study of someone who took this step and what happened
Subject line examples:
- “Your first quick win inside [Product Name] (takes 5 minutes)”
- “The one thing that made the biggest difference for new members”
- “Do this today and you’ll be ahead of 80% of users”
Email 4: The Deep Dive (Day 7 to 10)
By now, your customer has had a week with your product. This email goes deeper on one specific feature, strategy, or concept that delivers high value. Think of it as the “how to get even more out of this” email.
What to include:
- One concept or feature explained in depth
- A specific use case or example
- A link to supporting resources (video, guide, tutorial)
This email serves two purposes: it educates, and it signals that your business is invested in their success, not just in the sale.
Email 5: The Social Proof + Community Email (Day 10 to 14)
This email reinforces the decision to buy by showing what others have achieved. Testimonials, case studies, before/after results, and community highlights all work here.
What to include:
- 2 to 3 customer results, quotes, or case studies
- An invitation to connect (community, support channel, social group)
- Optional: a prompt to share their own early results or experience
Belonging and social proof are powerful retention drivers. Customers who feel connected to a community churn far less than isolated users.
Email 6: The Check-In (Day 14 to 21)
A simple but often skipped email. This one feels personal and asks the customer how they’re doing. The goal is to surface any early friction, confusion, or hesitation before it becomes a cancellation.
What to include:
- A short personal note asking how things are going
- An invitation to reply with questions or share where they’re stuck
- A link to your FAQ, help center, or scheduling page
Subject line examples:
- “How’s it going so far?”
- “Quick check-in from [Your Name]”
- “Be honest with me for a second”
This email’s conversion event isn’t a click. It’s a reply. Even if 5% of recipients respond, those conversations give you invaluable insight into what’s working, what’s confusing, and what your onboarding is missing.
Email 7: The Upsell or Expansion Email (Day 21 to 30)
If your business has additional products, tiers, or services, the end of the onboarding window is the right time to introduce them. Your customer has had a positive experience, they’ve gotten early value, and they’re ready to think about what’s next.
This is not a hard sell. It’s a natural “here’s what some customers do next” conversation.
Subject line examples:
- “What most [Product Name] members do after month one”
- “Ready to take this further? Here’s what’s available”
- “Your 30-day milestone + a quick look at what’s next”
Setting It Up: Platform Basics
Most email marketing platforms handle onboarding sequences the same way: you create an automation that triggers when a customer is added to a specific list or tagged with a specific label. Klaviyo is particularly strong for e-commerce onboarding, while ActiveCampaign and Mailchimp both have solid automation builders for service businesses.
The key is that your trigger is specific. “New customer” should mean someone who completed a purchase, not someone who just signed up for your newsletter. If your triggers aren’t specific, you’ll send onboarding emails to people who didn’t buy and miss people who did. Both are bad.
For a broader look at how automation fits into your email strategy, see our guide on how to use email automation to nurture leads on autopilot.
Personalizing Your Sequence Without Overcomplicating It
You don’t need to build a dozen different paths on day one. Start with a single onboarding sequence for all new customers. Once it’s running and you have data, you can add conditional branches:
- Engagement fork: Send a different Email 3 to people who clicked Email 2 vs those who didn’t
- Product fork: If you sell multiple products, trigger different sequences based on what was purchased
- Engagement re-entry: If someone hasn’t opened any email by Day 7, trigger a “are you still there?” email with a different angle
Most small businesses over-complicate their automations before they’ve even validated the basic sequence. Get the core 6 to 7 emails working first. Then layer in personalization.
What Good Onboarding Numbers Look Like
According to industry data from Litmus, automated onboarding emails typically see open rates of 45% to 60%, compared to 20% to 28% for regular marketing emails. That’s because these emails are expected, relevant, and immediately useful.
Here’s what to track in your onboarding sequence:
- Open rate per email: Should stay above 35% for the first 3 emails, and above 25% through Email 7
- Click rate per email: Aim for 8% to 15% on CTAs
- Reply rate on check-in email: Even 3% to 5% is valuable signal
- 30-day retention: Compare retention rates for customers who completed the onboarding sequence vs those who didn’t open any emails
If your open rates are strong but clicks are low, your CTAs are unclear or there are too many. If opens drop sharply after Email 2, the content may not be matching expectations set by your welcome email.
Connecting Onboarding to Your Broader Email Strategy
Onboarding is the first sequence a new customer experiences, but it shouldn’t be the last. After the onboarding window closes (typically 30 days), customers should transition into your regular email marketing flow: newsletters, promotions, educational content, and retention campaigns.
Make sure your automation has a clear end state. Some platforms will loop customers back into onboarding if you don’t explicitly move them to the appropriate list segment when the sequence finishes.
For more on building the broader automated email system around your onboarding sequence, see our post on how to build an automated email funnel.
Need Help Writing Your Onboarding Sequence?
If writing 6 to 7 emails feels like a lot, consider working with a freelance email copywriter. You can find experienced specialists on Fiverr for $150 to $400 for a complete sequence. Given what a well-built onboarding sequence does to your 30-day retention, it’s one of the better returns on a content spend you’ll find.
The Simplest Version That Works
If you’re starting from zero and want to get something live today, here’s the minimal viable onboarding sequence:
- Email 1 (Immediately): Welcome + access + next step
- Email 2 (Day 2): Where to start + most important thing to do first
- Email 3 (Day 7): Check in + answer common questions
- Email 4 (Day 14): Results other customers are getting
Four emails. Triggered automatically. Infinitely scalable. Start there, measure what happens to your early retention numbers, and build from there.
The businesses that win on email aren’t the ones with the most sophisticated automations. They’re the ones that show up consistently, add real value, and treat every new customer like their most important one.
Ready to build an email marketing system around your business? Join Hustler’s Library for free and get access to the full email marketing resource library, templates, and guides.
Ready to Know Where You Stand?
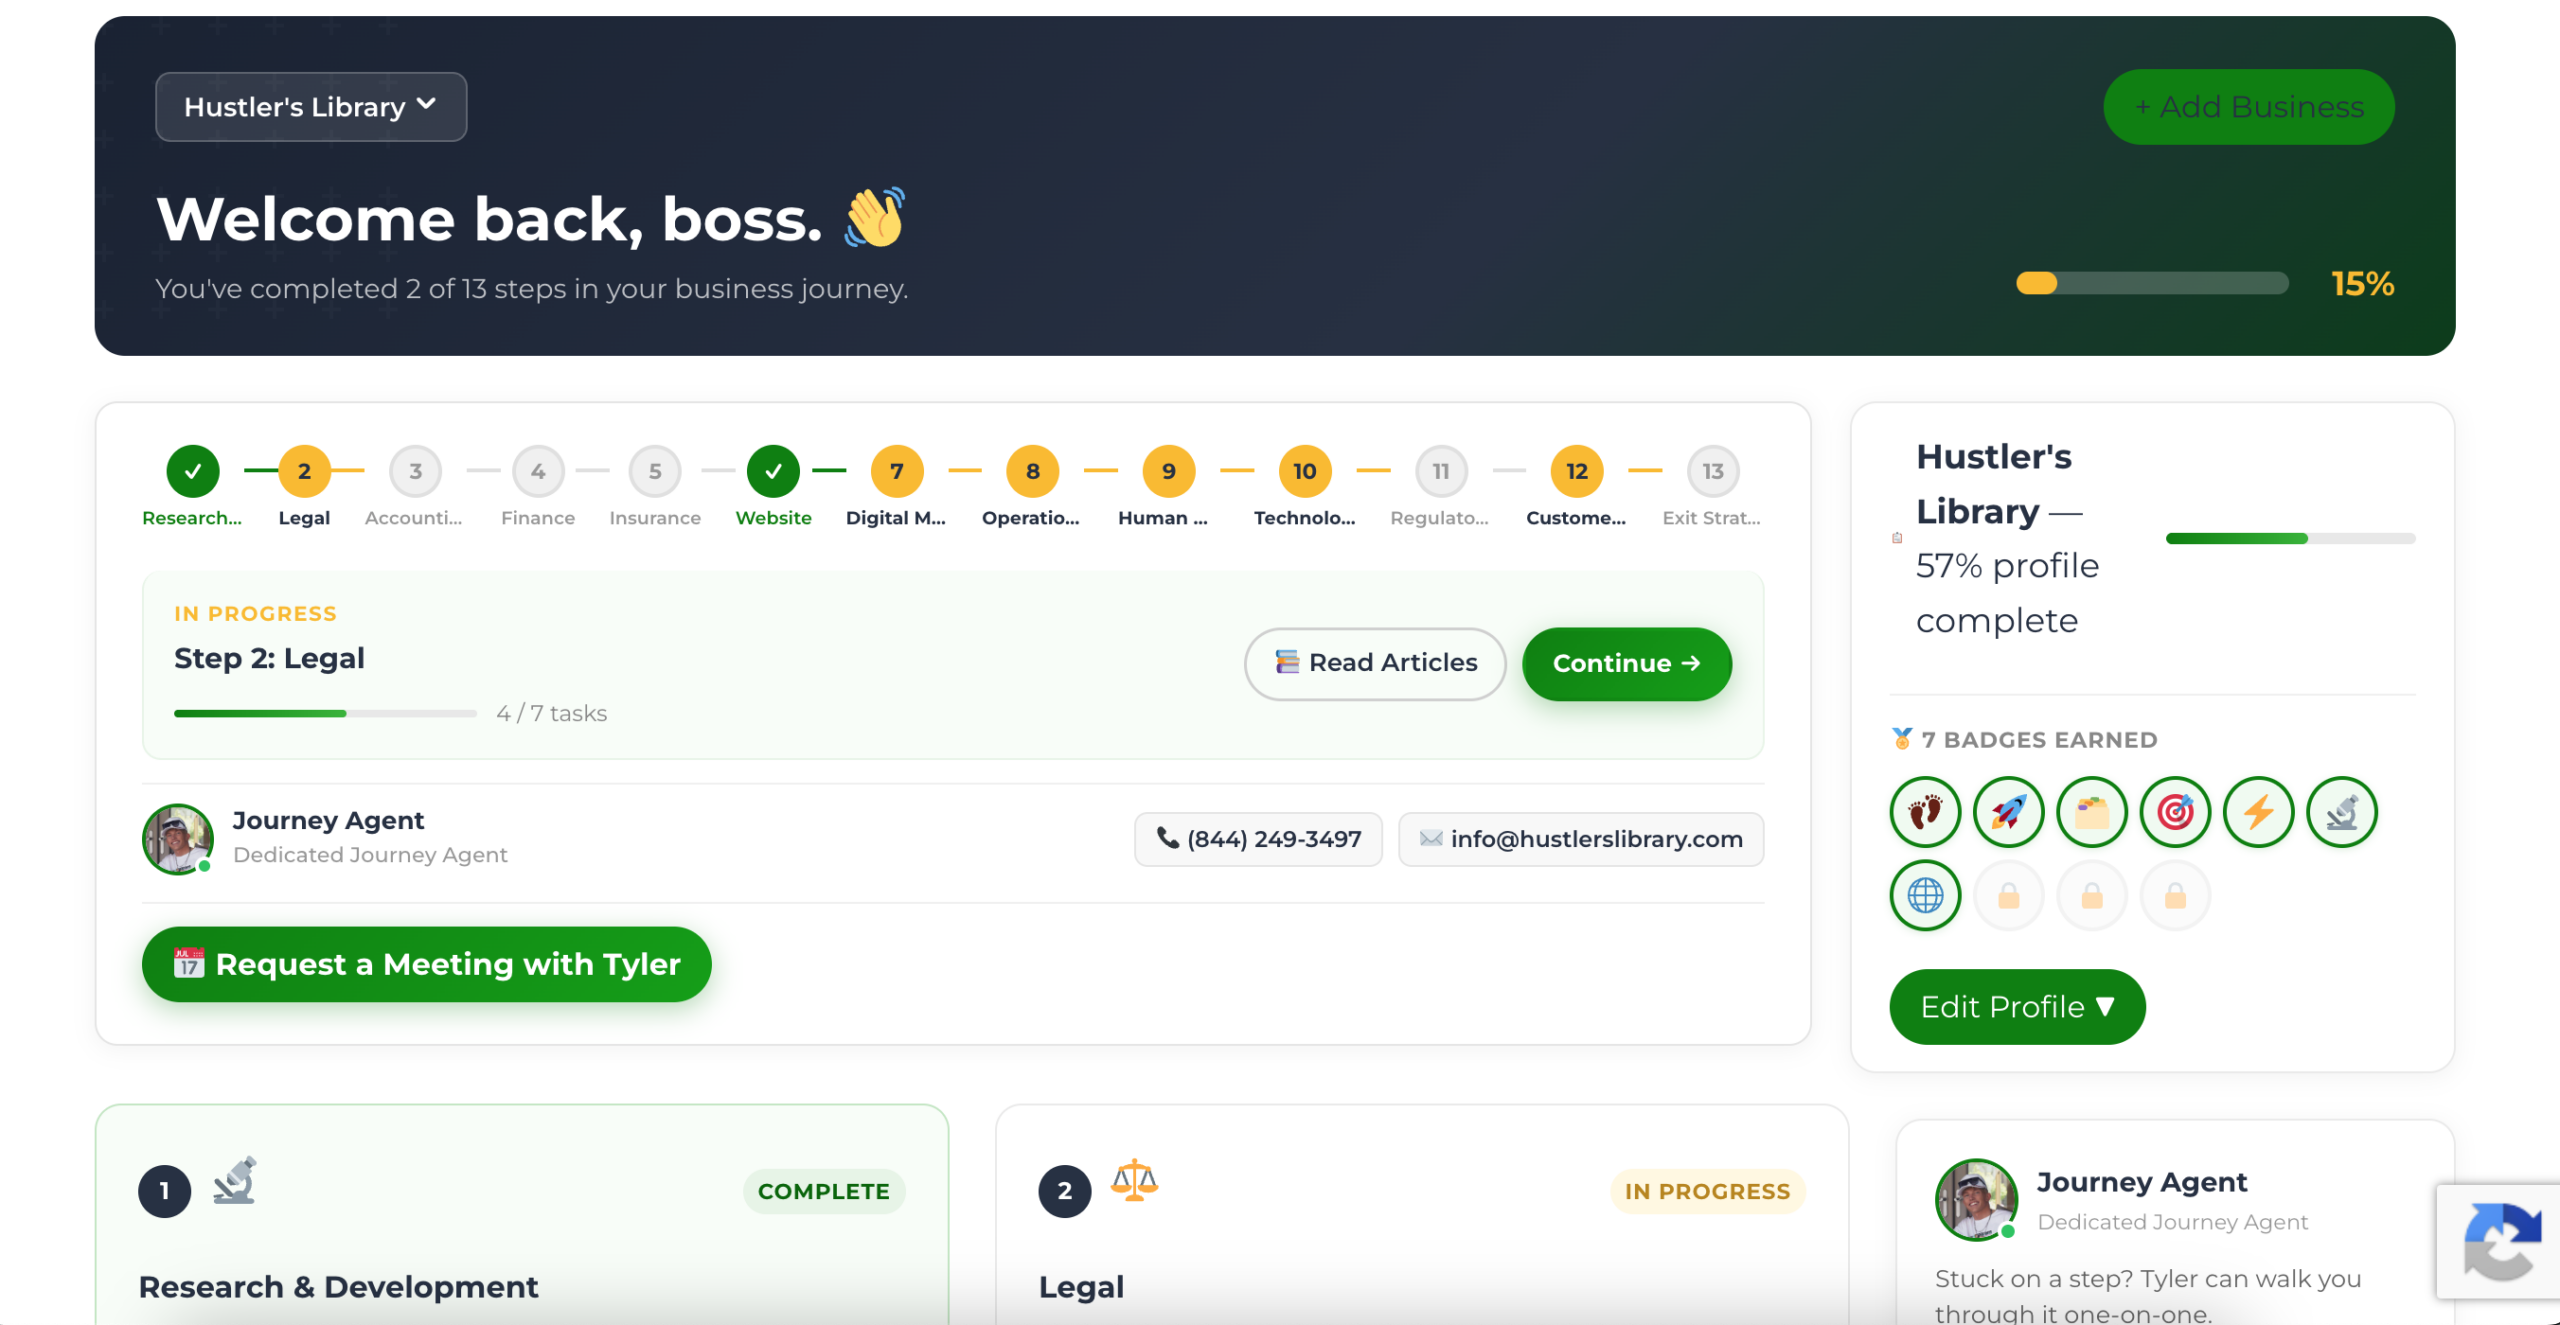
The Business Journey dashboard maps your exact position across all 13 stages. Track your progress, unlock resources for each step, and build with a framework used by thousands of founders at Hustler's Library.
No credit card required · Takes 3 minutes · Personalized to your stage