

If your office still runs on filing cabinets, printed invoices, and sticky notes, you’re not alone. Millions of small business owners operate the same way their parents did. But here’s the reality: paper-based businesses spend an average of $20 to manage, file, and retrieve a single document. Multiply that across thousands of documents a year, and you’re looking at a real cost center that rarely gets questioned.
Going paperless isn’t about being trendy. It’s about cutting costs, moving faster, and creating a business that can operate from anywhere. This guide breaks down exactly how to do it without disrupting your operations or losing anything important.
Why Paperless Operations Make Business Sense
Before you flip the switch, it helps to understand what you’re actually gaining. The benefits go beyond saving trees.
Lower overhead. Printers, toner, paper, and physical storage all cost money. Filing cabinets take up space that costs rent. Eliminating or reducing these cuts real dollars from your monthly expenses.
Faster access to information. Searching a digital document takes seconds. Searching a filing cabinet takes minutes, assuming the file is where it’s supposed to be. When you need a contract or invoice fast, digital wins every time.
Better security. A locked filing cabinet can be opened. A folder sitting on someone’s desk can walk out the door. Digital documents stored with proper access controls and encryption are far harder to steal or lose.
Remote access. If your team can’t get into the office, paper-based operations grind to a halt. Digital files work from anywhere with an internet connection.
Easier compliance and record-keeping. The IRS accepts digital records. Many industries now require them. Going paperless makes audits, tax season, and regulatory reviews much less painful.
Step 1: Audit What You’re Working With
Don’t just start scanning everything on day one. Start by understanding what paper you actually have and what it’s for.
Walk through your business and categorize your paper-based processes. Look at:
- Invoices and bills (incoming and outgoing)
- Contracts and agreements
- Employee records and HR paperwork
- Tax documents and financial statements
- Customer records and notes
- Inventory logs and purchase orders
- Operations checklists and manuals
Once you know what you have, you can build a plan. Not everything needs to be digitized immediately. Start with the highest-volume, highest-value categories first, then work your way down.
Step 2: Choose Your Digital Document System
The backbone of a paperless operation is a reliable document management system. This is where your files live, how they’re organized, and how your team accesses them.
Your options range from simple to sophisticated:
Cloud storage (Google Drive, Dropbox, OneDrive): Easy to set up, affordable, and accessible from anywhere. Works well for most small businesses. Organize with a clear folder structure and naming convention from day one, or it becomes a mess quickly.
Document management software (PandaDoc, DocuWare, M-Files): Built specifically for businesses. Offers features like version control, automated workflows, and advanced search. More setup required, but more powerful.
Industry-specific platforms: If your business operates in a specific space, such as construction, healthcare, or legal services, there are often document management tools built for your industry that handle compliance requirements automatically.
Pick a system your team will actually use. The best tool is the one that gets adopted, not the one with the most features. This is closely tied to improving your overall operational efficiency, since disorganized digital files are just as costly as physical clutter.
Step 3: Digitize Your Existing Documents
This is usually the most time-consuming part, but it doesn’t have to be overwhelming if you approach it systematically.
Use a document scanner, not your phone camera. A dedicated scanner like the Fujitsu ScanSnap or Brother ADS series can process hundreds of pages per hour. The quality and consistency will save you headaches later. Many models auto-name files based on content, which speeds up organization.
Set retention rules before you scan. Not everything needs to be kept forever. The IRS recommends keeping tax records for at least three years, and up to seven if you have significant unreported income or depreciation claims. For most contracts and business records, three to five years is a reasonable baseline. Check with your accountant for specifics.
Shred what you don’t need. Once documents are scanned and backed up, shred the originals you don’t need to retain. A cross-cut shredder is a one-time cost that protects against identity theft and data breaches.
Use consistent naming conventions. Every file should be named the same way. A format like YYYY-MM-DD_ClientName_DocumentType works well. Consistent naming is the difference between a searchable archive and a digital junk drawer.
Step 4: Replace Paper Workflows With Digital Ones
Digitizing old documents is only half the job. You also need to stop creating new paper. That means replacing every paper-based workflow with a digital equivalent.
Invoicing and payments: Platforms like QuickBooks, FreshBooks, or Wave let you create and send invoices by email, collect payments online, and store records automatically. No printing required.
Contracts and agreements: Tools like DocuSign, HelloSign, or PandaDoc let clients sign contracts electronically. These signatures are legally binding in the US and most countries. They’re faster, cheaper, and easier to track than mailing physical contracts.
Expense tracking: Apps like Expensify or Dext let employees photograph receipts with their phones. The app extracts the data, categorizes the expense, and stores the image. No more crumpled receipts stuffed in a drawer.
HR and onboarding paperwork: Platforms like Gusto, Bamboo HR, or Rippling handle onboarding documents, tax forms, direct deposit authorizations, and employee records entirely online.
Internal communications and notes: Replace printed memos with tools like Slack, Microsoft Teams, or even a shared Google Doc. If your team is still printing meeting agendas, that’s a quick win.
The goal is to build workflows where paper never enters the picture at all, not just to digitize paper after the fact. This connects directly to automating your workflows to save time and reduce manual handling across the board.
Step 5: Set Up a Solid Backup System
One of the most common objections to going paperless is the fear of losing everything. It’s a fair concern. The answer is a proper backup strategy.
Follow the 3-2-1 rule: keep three copies of your data, on two different types of storage, with one copy offsite. In practice, this means:
- Your primary working files (local computer or server)
- A cloud backup that syncs automatically (Google Drive, Dropbox, Backblaze)
- A periodic external hard drive backup stored somewhere other than your office
Most cloud storage providers already include some redundancy, so if you’re using Google Drive or OneDrive as your primary document system, you’re halfway there. Add an automatic backup tool like Backblaze or Carbonite for a complete safety net.
Test your backups periodically. The worst time to discover your backup doesn’t work is after a data loss event.
Step 6: Train Your Team and Set the Standard
Technology is only as effective as the people using it. A paperless transition fails when team members revert to old habits because the new system feels harder or unclear.
Train your team on the new tools before the transition date. Make the expectations clear: where files go, how they’re named, what gets printed (ideally nothing), and what to do when they receive something on paper. Build a short reference guide and keep it somewhere accessible.
Designate someone as the keeper of the system. This doesn’t have to be a full-time job, but someone needs to own it. They make sure new documents follow the naming convention, archive old files periodically, and troubleshoot when someone can’t find what they need.
Celebrate small wins. When the team makes it a month without printing a single contract, or when you get through tax season without touching a file cabinet, acknowledge it. Habits stick when they feel like progress.
What to Expect: Costs, Timeline, and ROI
A paperless transition for a small business doesn’t require a massive budget. For most operations, the total investment is modest:
- A quality document scanner: $200 to $600
- Cloud storage and document management: $10 to $50 per month
- E-signature software: $10 to $40 per month
- Staff time for the initial digitization project: varies
Most small businesses recoup these costs within six to twelve months through reduced printing and paper costs, faster processes, and fewer hours spent hunting for documents. A solid bookkeeping system makes it easy to track those savings and confirm the ROI over time.
The full transition typically takes three to six months for a small business, depending on how much paper you’re starting with. Don’t try to do everything in a week. Start with the highest-impact area, get it working well, then move to the next one.
A Quick Word on Compliance
If your business operates in a regulated industry, check the requirements before eliminating paper entirely. Healthcare businesses must comply with HIPAA for patient records. Financial services firms have SEC or FINRA requirements. Legal and real estate businesses have their own rules around record retention.
In most cases, digital records are fully compliant, but the specific storage, encryption, and access control requirements vary. The SBA’s guidance on keeping business records is a solid starting point for understanding what you’re required to retain and for how long.
The Bottom Line
Going paperless is one of the most practical operational upgrades a small business can make. It cuts costs, speeds up work, reduces risk, and creates a foundation for a business that can grow without adding physical complexity. The transition takes planning and some upfront effort, but the payoff compounds over time.
Start with one area of your business. Get it right. Then keep going. Within six months, you’ll wonder why you waited this long.
Want more practical guides like this one? Join thousands of small business owners getting actionable advice every week. Join Hustler’s Library for free and start building a smarter business today.
Ready to Know Where You Stand?
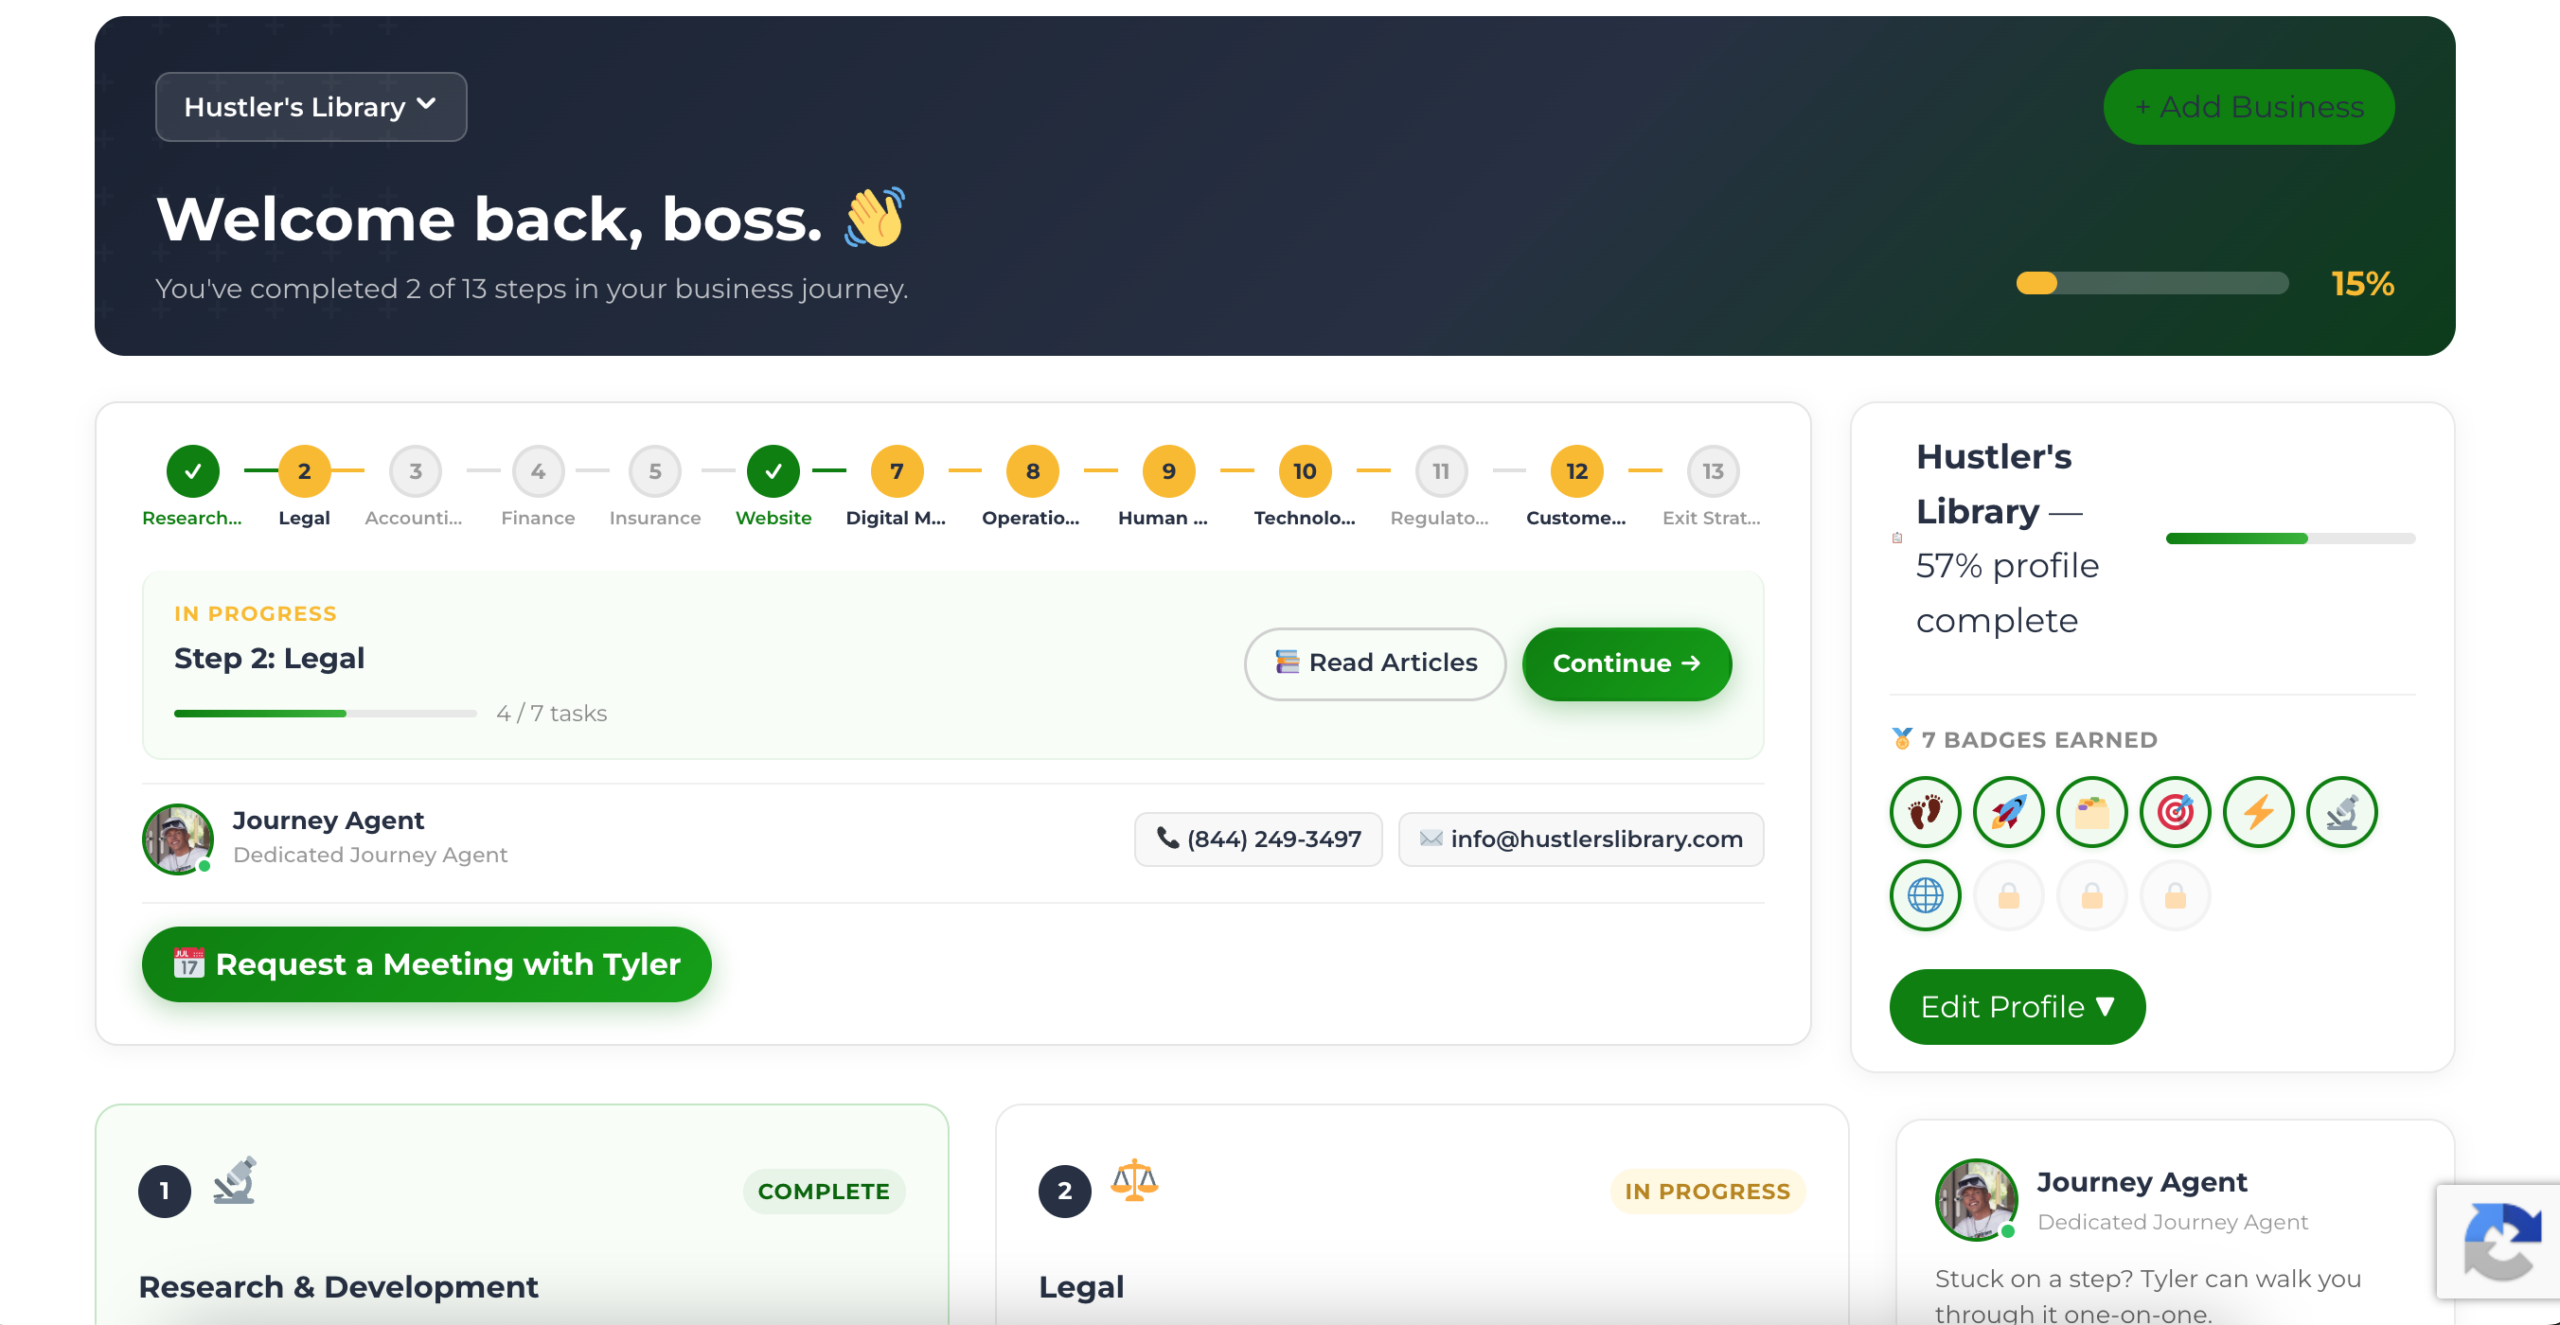
The Business Journey dashboard maps your exact position across all 13 stages. Track your progress, unlock resources for each step, and build with a framework used by thousands of founders at Hustler's Library.
No credit card required · Takes 3 minutes · Personalized to your stage