

Why Your Business Needs an Expense Reimbursement Policy
Your salesperson fills up their tank driving to a client meeting. Your operations manager buys supplies for the office. Your remote employee orders equipment for their home setup. All of it is legitimate business spending : but without a clear reimbursement policy, you’re setting yourself up for confusion, disputes, delayed repayments, and tax headaches.
An expense reimbursement policy is simply a written set of rules that explains what business expenses the company will pay back, how employees should submit those expenses, and when they can expect to be reimbursed. It protects your employees from being out of pocket too long. It protects your business from vague or inflated claims. And it keeps your bookkeeper sane.
The good news: you don’t need a 40-page HR manual to get this right. Here’s exactly how to build a simple, effective expense reimbursement policy for your small business : even if you’ve never had one before.
Step 1: Decide What Expenses You’ll Reimburse
Start by listing the categories of expenses your business regularly encounters. Common reimbursable expense categories include:
- Travel: mileage, tolls, parking, flights, hotels, and rental cars for business trips
- Meals and entertainment: client lunches, team dinners, coffee meetings
- Office supplies: items bought for work use when not available through normal procurement
- Technology and software: apps, subscriptions, accessories approved for work use
- Training and professional development: books, courses, seminars, conferences
- Home office expenses: for remote employees : internet, equipment, ergonomic supplies
- Client gifts: small gifts within a reasonable budget per person, per occasion
Once you’ve listed these categories, set clear limits. For example: meals are reimbursable up to $75 per person; mileage is reimbursed at the current IRS standard rate; flights require advance approval. Without dollar limits, you’re leaving the door open to over-spending : not because your team is dishonest, but because “reasonable” means different things to different people.
What Not to Reimburse
Be equally clear about what you won’t cover. Personal meals (unless traveling), first-class upgrades, personal phone bills beyond a flat monthly stipend, speeding tickets, and alcohol beyond a stated limit are common exclusions. The IRS also has strong opinions here : personal expenses mixed in with business expenses can create audit risk and complicate your deductions. When in doubt, draw the line conservatively.
Step 2: Set Up a Submission Process
Your policy only works if employees can actually use it. Keep the submission process as frictionless as possible. Here’s what a basic process looks like:
- Employee incurs a business expense and keeps the receipt (physical or digital).
- Employee submits a reimbursement request via your chosen method : a spreadsheet, a Google Form, or expense software : within a set time window (e.g., 30 days of the expense).
- A manager or owner reviews and approves the request, checking that it falls within policy.
- Finance or payroll processes the reimbursement on the next payment cycle or within a stated number of business days.
- The expense is recorded in your bookkeeping system under the appropriate category.
No matter how simple your process, always require receipts. No receipt, no reimbursement. This isn’t about distrusting your team : it’s about having documentation for your records and for the IRS.
Tools to Make It Easier
If you’re still using a shared spreadsheet and email chain, it works : but it doesn’t scale. As your team grows, consider a dedicated expense management tool. Options like Expensify, Ramp, or SAP Concur allow employees to snap photos of receipts on their phones, categorize expenses automatically, and route approval requests to the right person. Many integrate directly with QuickBooks, Xero, and other bookkeeping platforms. The right tool can cut your expense management time from hours to minutes each month.
Step 3: Set Reimbursement Timelines
One of the most common employee complaints about expense policies is slow reimbursement. If someone spent $400 of their own money on a business trip, they want it back promptly. Define your timeline explicitly : for example, “approved expenses submitted by the 15th of the month will be reimbursed with the following paycheck.” Or simply: “all approved expenses will be reimbursed within 10 business days of approval.”
Whatever timeline you choose, stick to it. Consistent, reliable reimbursement builds trust with your team. Slow or unpredictable reimbursement erodes morale : especially for hourly employees or lower-paid staff who can’t comfortably float expenses for weeks at a time.
Step 4: Address Tax Implications
Here’s where many small business owners get tripped up: the IRS has specific rules about how expense reimbursements are treated for tax purposes. If your reimbursement plan is structured as an “accountable plan,” the reimbursements are not included in the employee’s taxable income and are fully deductible for your business. If it’s a “non-accountable plan,” the reimbursements may be treated as taxable wages : which means withholding, payroll taxes, and more paperwork for everyone.
To qualify as an accountable plan, three things must be true: the expenses must have a legitimate business purpose, employees must submit adequate documentation (receipts), and employees must return any excess advances within a reasonable time. Most standard reimbursement policies qualify automatically : but check with your accountant to be sure. The IRS Publication 15 covers accountable plan rules in plain-enough language if you want to go direct to the source.
Mileage reimbursement deserves its own note. The IRS sets a standard mileage rate each year (in 2024, it was 67 cents per mile for business use). Reimbursing at or below this rate via an accountable plan is tax-free for the employee. Reimbursing above the rate turns the excess into taxable compensation. When in doubt, use the IRS rate and update your policy annually.
Step 5: Write It Down and Share It
A policy that lives in your head isn’t a policy : it’s a wish. Write your expense reimbursement policy down, even if it’s just two pages. Include:
- What types of expenses are reimbursable (and the limits for each)
- What is explicitly not covered
- How to submit a reimbursement request (and the deadline for submission)
- The approval process and who approves what
- The reimbursement timeline
- Receipt requirements
- What happens if someone violates the policy
Once it’s written, put it in your employee handbook and make sure every team member has read it. Have new hires acknowledge the policy in writing when they onboard. This protects you legally and removes ambiguity for everyone.
Step 6: Handle Contractors Separately
If you work with independent contractors, your reimbursement rules are different. Contractors are generally responsible for their own business expenses : that’s built into their rates. If you do agree to reimburse a contractor for specific project costs, those reimbursements are typically included in the total amount on their invoice and reported on their 1099 if the total exceeds $600 for the year.
The cleanest approach: agree upfront in your contractor agreement whether expenses are included in their rate or billed separately, and set a clear budget cap for any reimbursable items. This avoids billing surprises and keeps your accounting clean. For more on working with contractors the right way, see our guide on how to use a 1099 contractor the right way.
Step 7: Keep Your Records Clean
Every approved expense reimbursement should be recorded in your books under the correct expense category. This matters for two reasons: first, it gives you accurate financial data on what your business is actually spending; second, it ensures every legitimate business expense is captured as a deduction at tax time.
If you’re still doing this manually, it’s worth building a habit of logging reimbursed expenses the same day they’re approved. If you’re using accounting software, expenses submitted through a connected expense management tool can sync automatically. Either way, your bookkeeping system should reflect every dollar : including what you’ve paid back to employees.
Common Mistakes to Avoid
Even with a policy in place, small businesses run into the same issues repeatedly. Watch out for these:
- No receipt requirement: Leading to unverifiable claims and IRS exposure.
- Vague categories: “Business expenses” without limits invites interpretation errors.
- Inconsistent enforcement: Approving expenses for some employees that you’d reject for others creates legal risk and resentment.
- Late reimbursements: Telling employees to submit expenses but paying them out weeks later breaks trust.
- Mixing personal and business spending: If an employee uses a personal card for business expenses regularly, consider issuing a company card with preset limits instead.
The Bottom Line
A clear expense reimbursement policy is one of those business fundamentals that pays for itself. It keeps your team happy, your books accurate, your taxes clean, and your business protected. And unlike many HR systems that require significant time to build, a solid expense policy can be written in an afternoon and implemented the same week.
Start simple: write out your reimbursable categories and limits, define your submission process, and communicate it to your team. You can always refine it as your business grows. The worst policy is no policy at all : because without one, you’re resolving expense disputes one uncomfortable conversation at a time.
Want more practical guides for running a tighter, more profitable business? Join the Hustler’s Library for free and get the playbooks that actually move the needle.
Ready to Know Where You Stand?
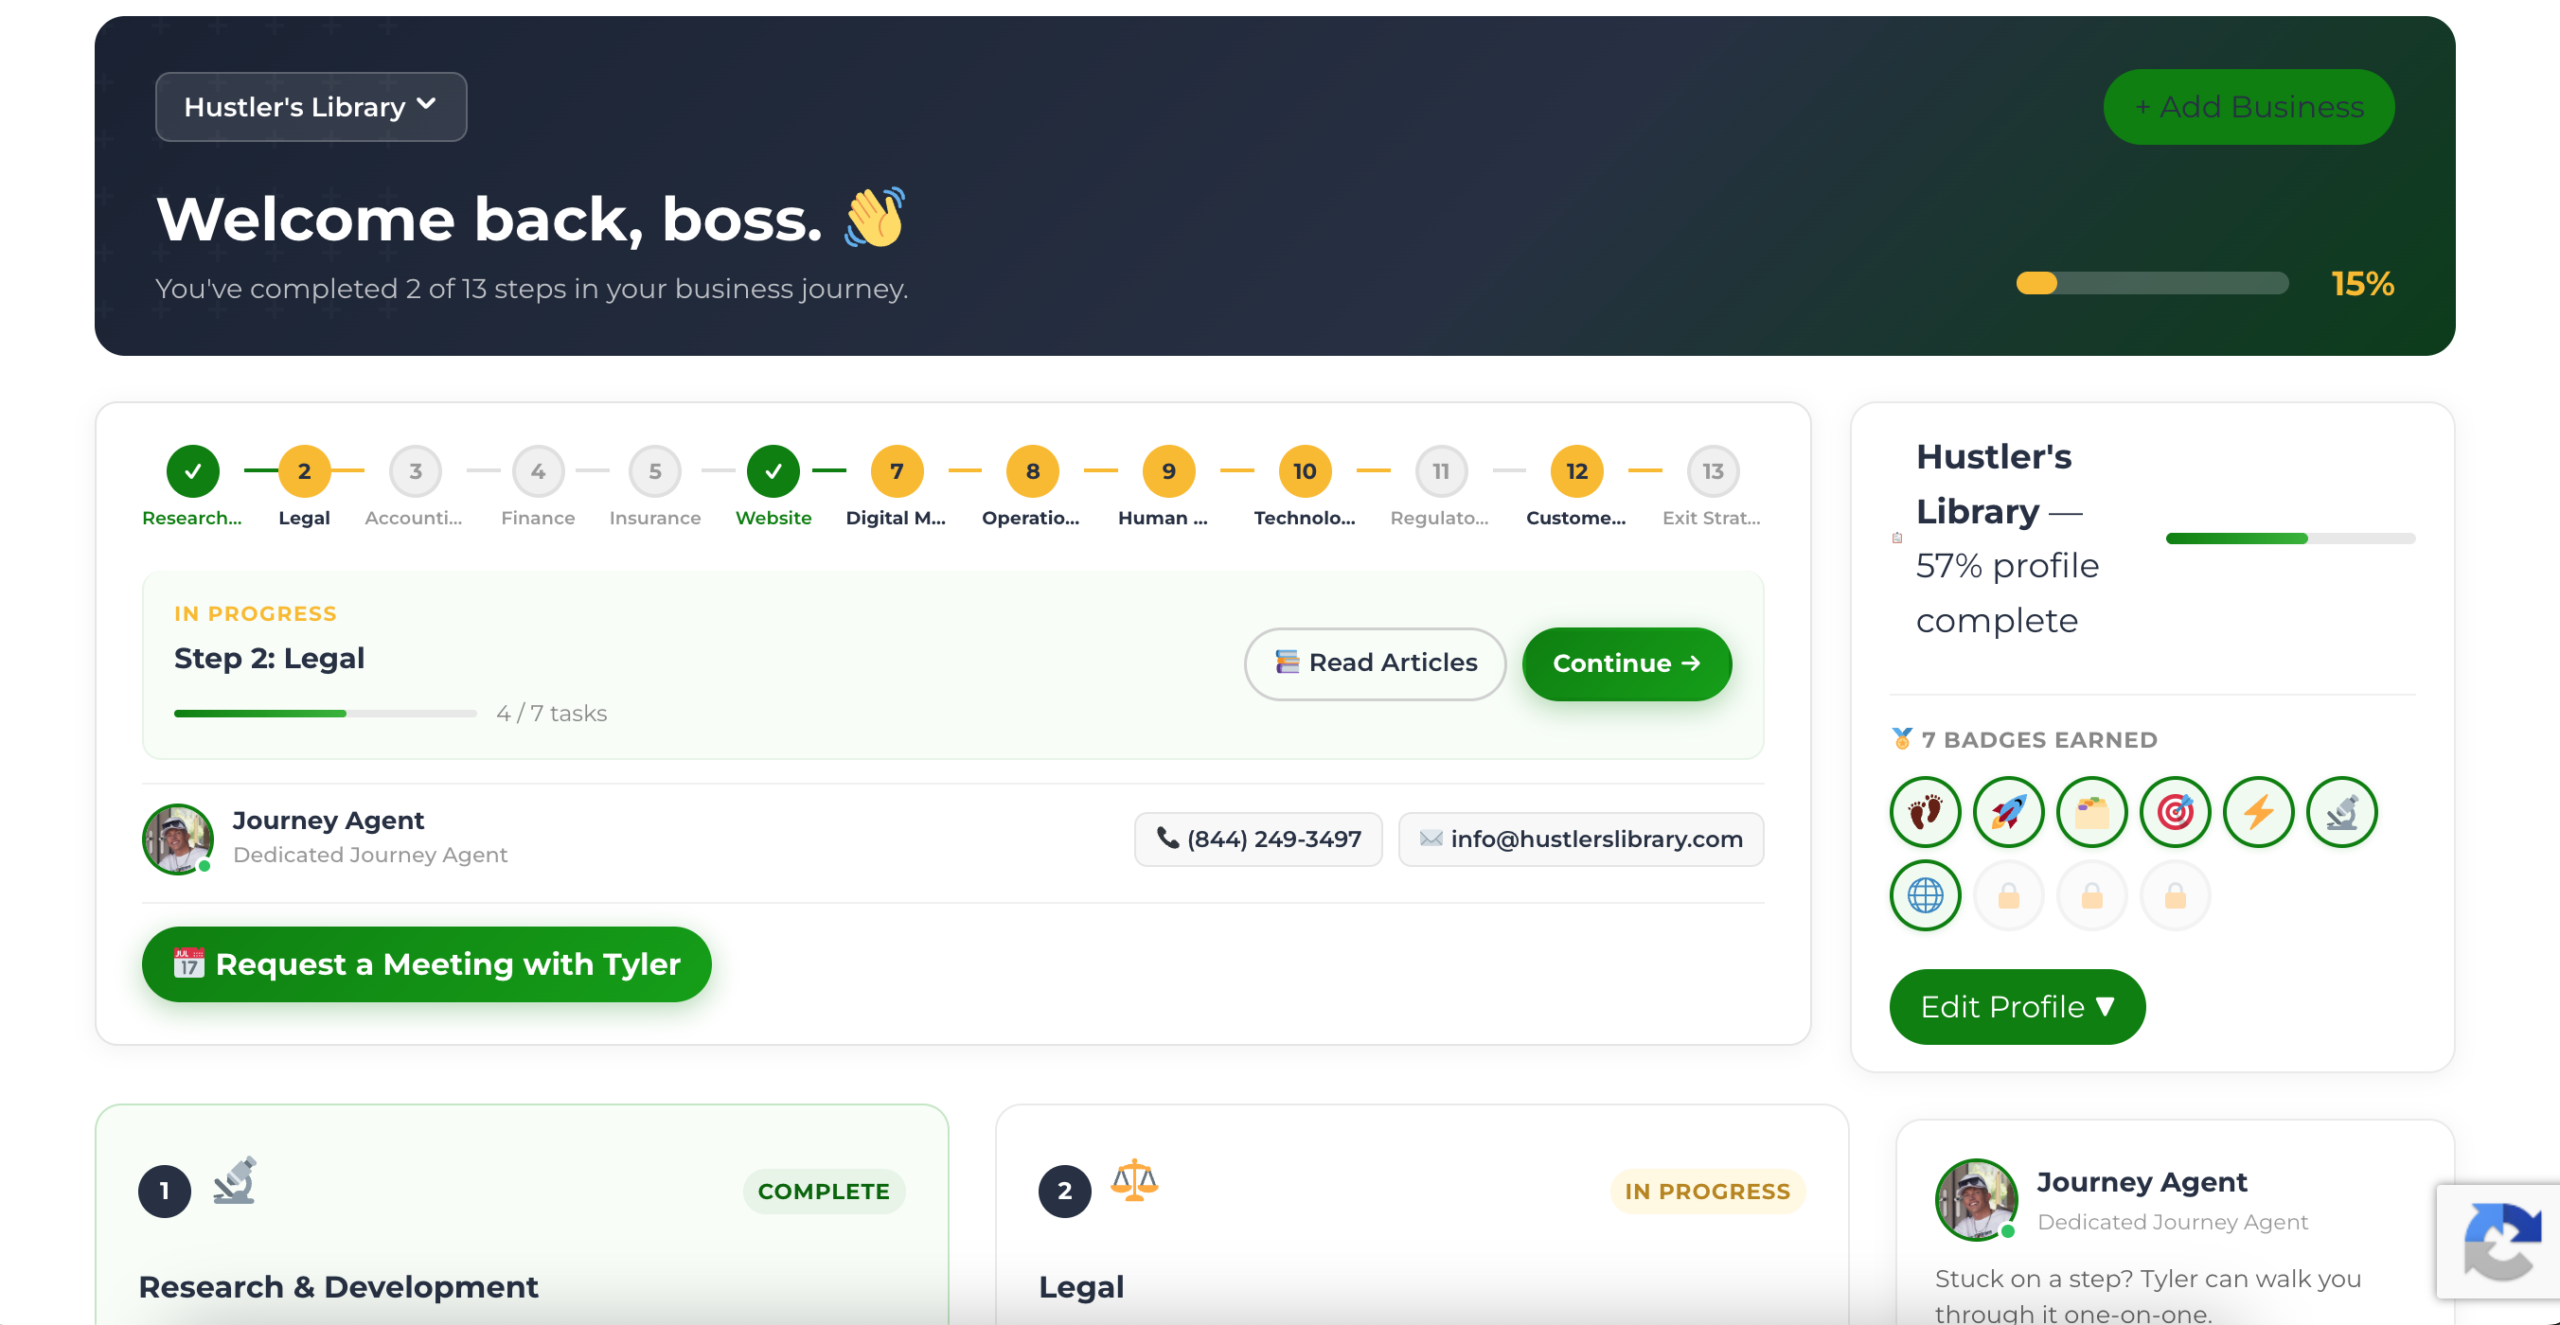
The Business Journey dashboard maps your exact position across all 13 stages. Track your progress, unlock resources for each step, and build with a framework used by thousands of founders at Hustler's Library.
No credit card required · Takes 3 minutes · Personalized to your stage