You have heard about cryptocurrency for years. Maybe a client asked about paying in Bitcoin. Maybe you read about a business owner diversifying their treasury. Maybe you are just curious what all the noise is about.
Whatever brought you here, this guide walks you through how to actually buy cryptocurrency for the first time, step by step. No jargon, no shortcuts, and no pressure. This is not financial advice, and whether you should buy crypto at all is a decision only you can make based on your own situation. But if you have decided to explore it, here is exactly how the process works.
Step 1: Choose a Cryptocurrency Exchange
An exchange is the platform where you buy, sell, and hold cryptocurrency. Think of it like a brokerage for digital assets. Before you can buy anything, you need an account on one of these platforms.
There are dozens of exchanges, but as a first-time buyer, you want something that prioritizes ease of use, regulatory compliance, and strong security. The major U.S.-regulated options have gone through the process of registering with financial regulators and maintaining compliance programs, which adds a layer of consumer protection that offshore or unregulated platforms do not offer.
When comparing exchanges, look at:
- Trading fees: What percentage do they charge per transaction?
- Supported payment methods: Can you fund with a bank account, debit card, or wire transfer?
- Available assets: Do they offer the cryptocurrencies you want to buy?
- Withdrawal options: How easy is it to move funds back to your bank?
- Mobile app quality: If you plan to monitor your holdings on the go, the app matters.
Our Best Crypto Exchanges Compared 2026: Coinbase vs Kraken vs Binance vs Gemini breaks down the major options in detail so you can compare them side by side before committing.
Step 2: Create Your Account
Once you have chosen an exchange, creating an account is straightforward. Head to their website or download their app and click the sign-up button. You will typically provide:
- Your full legal name
- Email address
- A strong, unique password
- Your phone number (for two-factor authentication)
After submitting your basic info, you will receive a confirmation email. Click the verification link to activate your account.
Enable two-factor authentication (2FA) immediately. This is non-negotiable. 2FA adds a second verification step when you log in, making it dramatically harder for someone to access your account even if they have your password. Use an authenticator app like Google Authenticator rather than SMS-based 2FA when possible, since SIM-swapping is a known attack vector in the crypto space.
Step 3: Verify Your Identity (KYC)
All regulated U.S. exchanges require identity verification before you can deposit funds or make trades. This process is called Know Your Customer (KYC) and is required by federal law for financial service providers.
You will need to provide:
- A government-issued photo ID (driver’s license or passport)
- A selfie or short video to confirm the ID belongs to you
- Sometimes, proof of address (utility bill, bank statement)
The verification process is usually automated and often completes within minutes. Occasionally it takes a few hours or a day, especially if there are any questions about the submitted documents.
This step is required. Any exchange that lets you buy significant amounts of crypto without identity verification is either unregulated or operating outside U.S. legal frameworks. That is a risk you do not want to take, especially as a business owner with financial records to protect.
Step 4: Fund Your Account
Once your identity is verified, you need to connect a funding source and deposit money into your exchange account. The main options are:
Bank Transfer (ACH)
Linking a checking or savings account via ACH is the most common method. Fees are typically low or zero, but transfers can take 3 to 5 business days to settle fully. Some exchanges allow you to trade against the pending balance immediately, but you may not be able to withdraw crypto until the transfer clears.
Debit Card
Debit card deposits are instant but usually carry higher fees (often 2 to 4 percent). For small first purchases where speed matters more than cost, this works. For larger purchases, the fees add up quickly.
Wire Transfer
Wire transfers are best for larger amounts. They are typically faster to clear than ACH and arrive in one to two business days, but both your bank and the exchange may charge fees.
Start with a small amount you are genuinely comfortable losing entirely. Not because you expect to lose it, but because starting small is how you learn the mechanics without high-stakes pressure.
Step 5: Place Your First Order
With funds in your account, you are ready to buy. Navigate to the trading section of your exchange and search for the cryptocurrency you want to buy. Most first-time buyers start with Bitcoin (BTC) or Ethereum (ETH), since they are the most established and most liquid.
To understand what these assets actually are before buying, check out our guides on What Is Bitcoin? and What Is Ethereum?
You will typically choose between two order types:
Market Order
A market order buys at the current available price immediately. Simple and instant, but you accept whatever the market price is at the moment of execution. For most first-time buyers making smaller purchases, market orders are fine.
Limit Order
A limit order lets you set the maximum price you are willing to pay. Your order sits open until the market reaches your specified price, then executes automatically. Limit orders give you more control over your entry price but may not fill if the market moves away from your target.
Enter the amount in USD that you want to spend (not necessarily in whole coins, since you can buy fractional amounts). Review the fee breakdown before confirming. Then submit the order.
Congratulations. You now own cryptocurrency.
Step 6: Secure Your Holdings
Buying crypto is only half the picture. How you store it matters enormously. The most important concept here: if you leave crypto on an exchange, you are trusting that exchange to hold it securely. Exchanges have been hacked. Some have gone bankrupt. When that happens, users often lose funds.
The phrase you will hear in crypto circles is “not your keys, not your coins.” It refers to the private key that controls access to your crypto. If the exchange holds that key, they control the asset. If you control the key, you control the asset.
For small amounts you are actively trading or plan to sell soon, leaving funds on a reputable exchange is generally acceptable. For larger amounts you want to hold long-term, consider moving to a wallet you control.
Hot Wallets
A hot wallet is software that stores your crypto and remains connected to the internet. These include mobile apps and browser extensions. They are convenient for frequent access but are more vulnerable to online attacks. Good examples include MetaMask (for Ethereum-based assets) and Trust Wallet.
Cold Wallets
A cold wallet (also called a hardware wallet) stores your private keys offline on a physical device. The most well-known brands are Ledger and Trezor. Because the keys never touch the internet, they are far more secure against hacking. Cold wallets are recommended for any amount of crypto you want to hold for the long term.
The tradeoff is convenience. Moving crypto to and from a hardware wallet takes a few extra steps, and if you lose the device and your backup recovery phrase, the funds are unrecoverable. Treat the recovery phrase like a physical key to a safe deposit box. Write it down, store it securely offline, and never share it with anyone.
For a deeper look at how all this technology connects, our What Is a Blockchain? Plain-English Explanation for Business Owners explains the underlying infrastructure that makes crypto work.
A Few Things to Keep in Mind
Before you move forward, here are some grounding truths worth holding onto:
Volatility is real. Cryptocurrency prices can swing 10, 20, or 30 percent in a week. Assets that have gone up dramatically have also gone down dramatically. Never invest more than you can genuinely afford to lose.
Every transaction may be taxable. In the United States, the IRS treats crypto as property. Selling, trading, or even spending crypto can trigger a taxable event. Keep records. Our guide on Crypto Taxes for Small Business Owners covers this in detail.
Scams are everywhere. If someone promises guaranteed returns, pressures you to act fast, or asks you to send crypto to an unknown wallet, it is a scam. No exceptions. The crypto space has attracted bad actors precisely because transactions are irreversible. Never send crypto to someone you do not completely trust.
You do not need to buy a whole coin. Most cryptocurrencies are divisible into tiny fractions. You can buy $50 worth of Bitcoin, which gives you a fraction of one BTC. Starting small is smart.
For context on current market pricing, CoinGecko tracks live prices and market data for thousands of cryptocurrencies and is a reliable free resource with no investment bias.
The Bottom Line
Buying cryptocurrency for the first time is genuinely straightforward once you know the steps. Choose a regulated exchange, create and verify your account, fund it, place your first order, and think carefully about how you will store what you own. The technical barriers are lower than most people expect.
What takes more thought is the decision of whether, how much, and which assets to buy. That is a personal financial decision that should involve careful research and, ideally, guidance from a qualified financial advisor. This guide has given you the mechanics. The judgment calls are yours to make.
Want more practical guides for running your business?
Join Hustler’s Library free and get the resources, guides, and playbooks that serious operators actually use.
Related Reading: Small Business Funding Guide
Ready to Know Where You Stand?
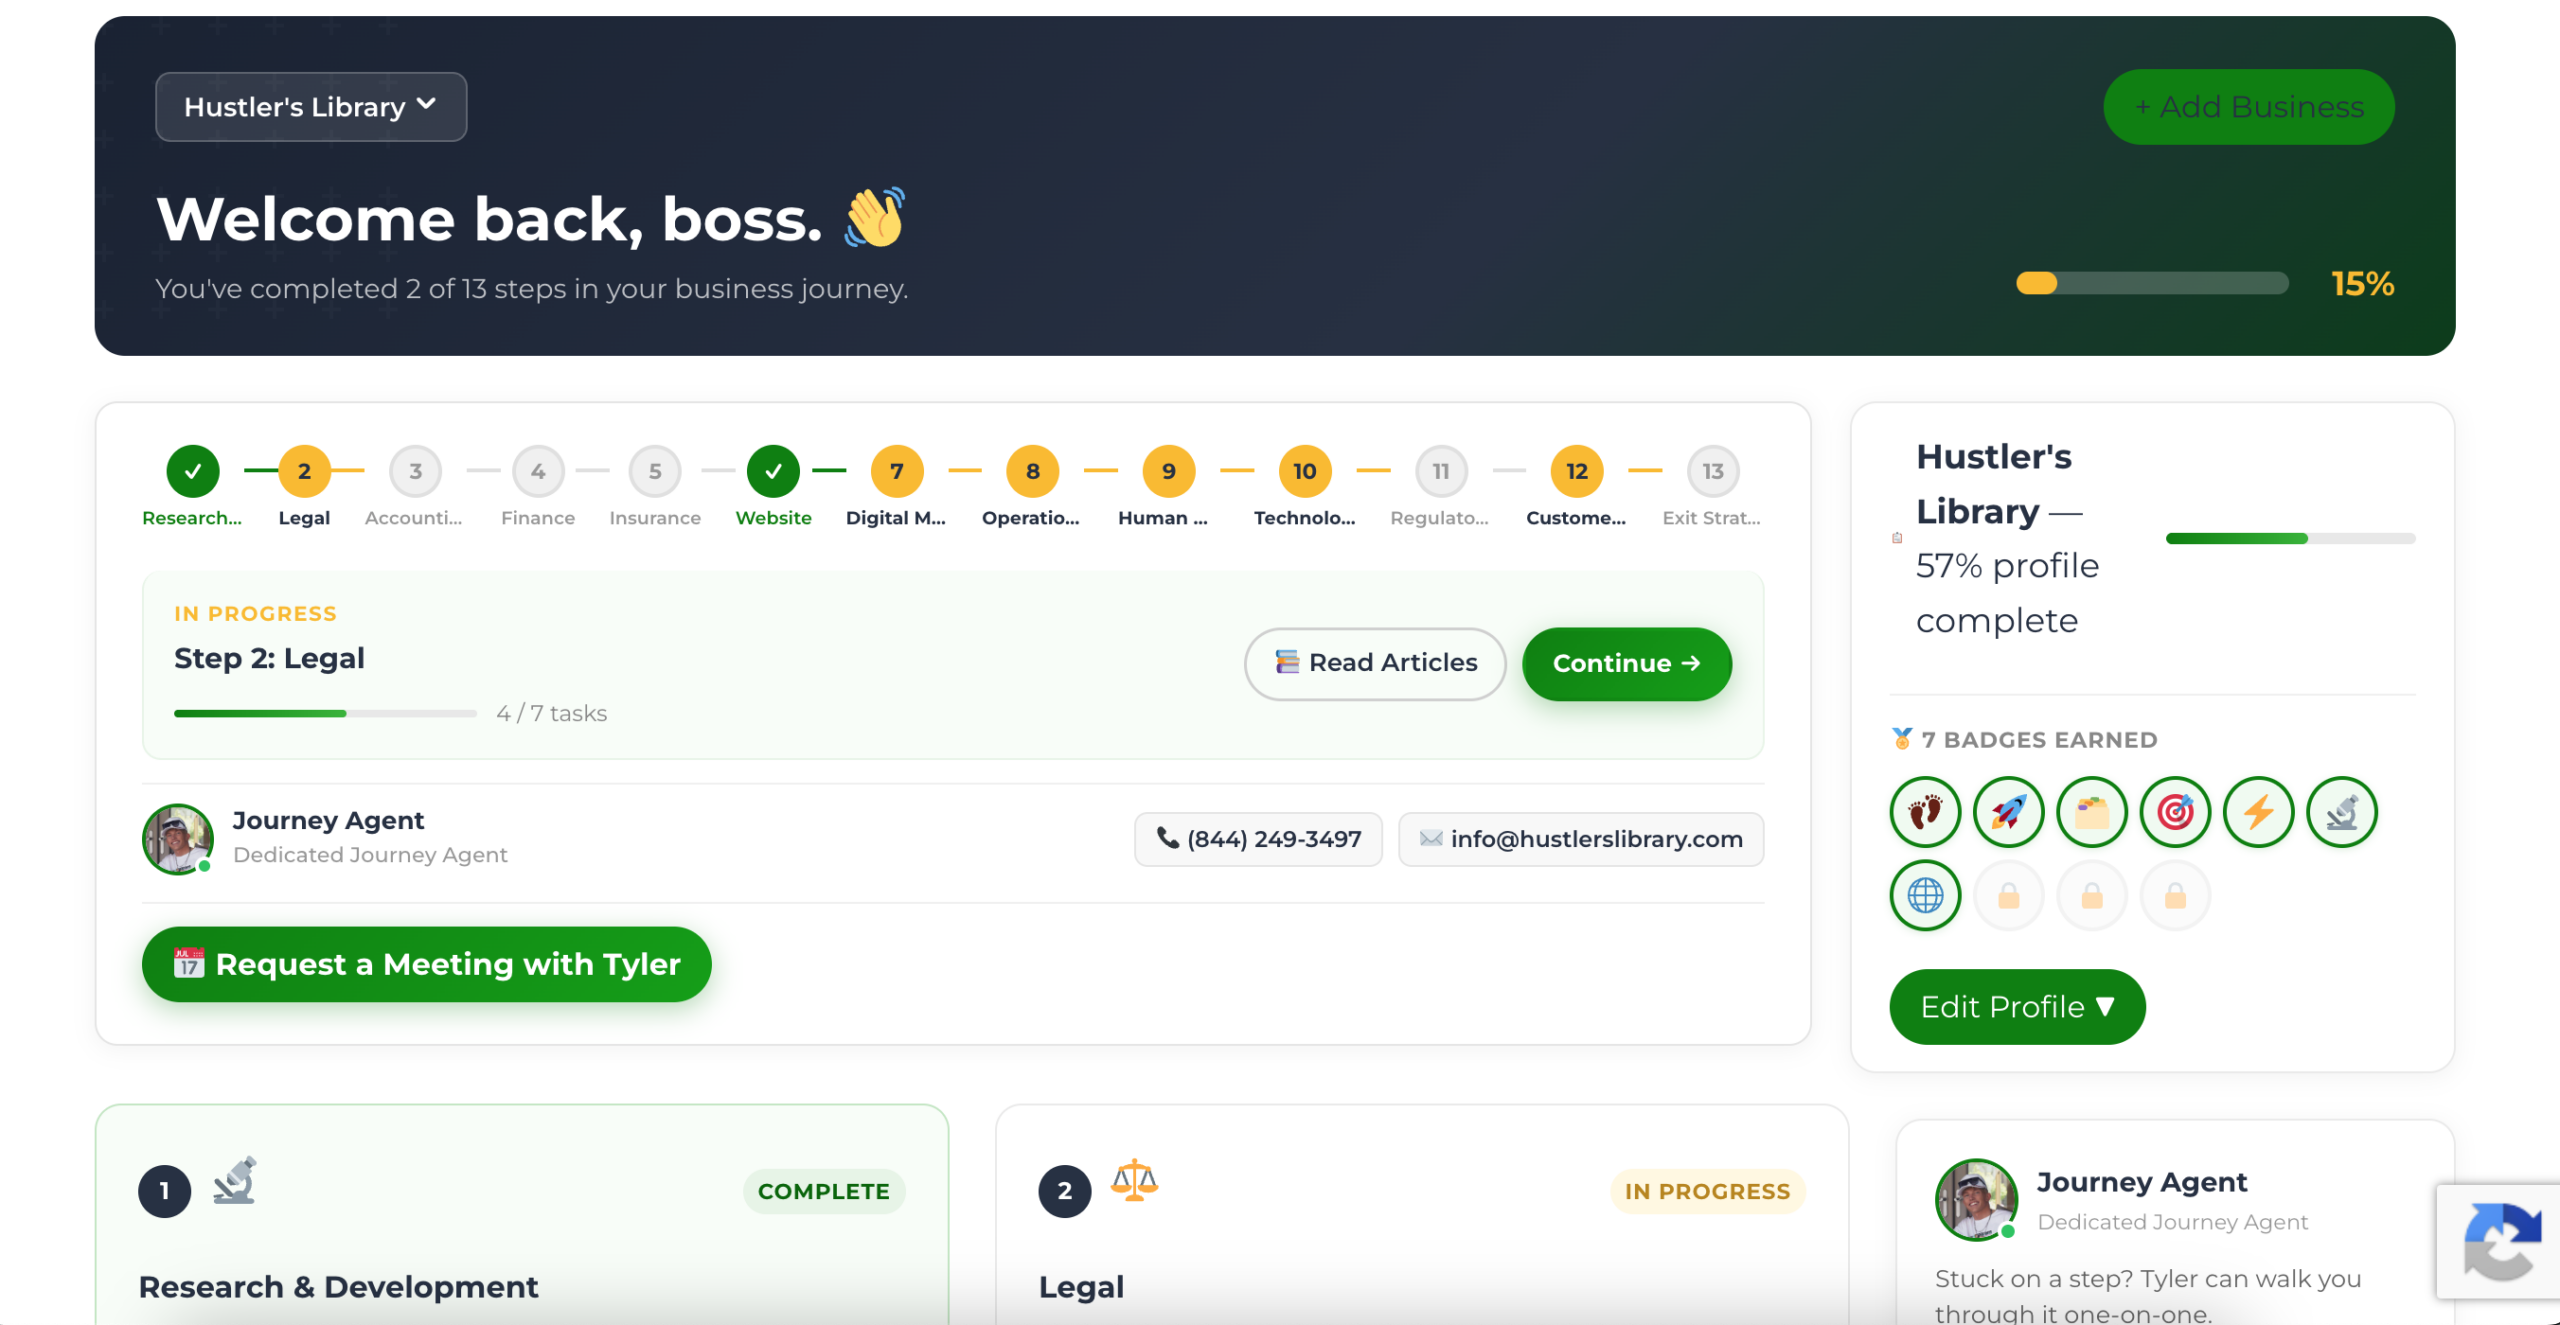
The Business Journey dashboard maps your exact position across all 13 stages. Track your progress, unlock resources for each step, and build with a framework used by thousands of founders at Hustler's Library.
No credit card required · Takes 3 minutes · Personalized to your stage