If your supply room looks like a paper avalanche hit a stapler factory, you’re not alone. Most small business offices start out organized and drift into chaos within six months. The fix isn’t a total overhaul — it’s getting the right label makers and organizational tools so that every item has a home, and everyone can find what they need without asking three people first.
This guide covers the best label makers and organizational tools for office supply rooms, from a solid budget pick to heavy-duty industrial options, along with the shelving, bins, and accessories that turn a messy closet into an actual functional room.
Why Bother Labeling and Organizing Your Supply Room?
Beyond the obvious “I can find things faster,” an organized supply room has real business value. Staff spend less time hunting for materials. You reorder supplies before you run out instead of discovering you’re out of toner during a client presentation. You stop buying duplicates of things you already have buried in a corner. Over a year, that’s real money and real time back in your pocket.
The other benefit: it signals to your team that you run a tight operation. Small details matter to employees and visitors alike.
Best Label Makers for Office Supply Rooms
Budget Pick: Brother P-Touch PTD210 (~$30)
The Brother P-Touch PTD210 is the label maker most offices should start with. It’s straightforward to use, prints crisp TZ tape labels in multiple widths, and costs about $30. There’s no app or Bluetooth required — just load the tape, type on the keyboard, and print. Replacement TZ tape cassettes run about $8-$12 each and are widely available.
Trade-off: no wireless connectivity, small screen, limited fonts and formatting. For a supply room closet where labels don’t need to be pretty, this is exactly what you need.
Best for: Small offices, first label maker, tight budget.
Mid-Range Pick: Brother PT-D600 (~$60)
Step up to the Brother PT-D600 if you want a full QWERTY keyboard, a larger display, and more formatting options including bold, different font sizes, and borders. It prints on TZ tape up to 1 inch wide, which is ideal for bin labels and shelf edge markers. At around $60, it’s worth it for any office with more than 5 staff members regularly accessing the supply room.
You can plug it into a PC via USB and use Brother’s P-Touch Editor software to design more complex labels. For organized supply rooms with consistent labeling across multiple rooms, this is the sweet spot.
Best for: Mid-sized offices, multi-room labeling, QWERTY keyboard fans.
Premium Pick: DYMO LabelWriter 550 (~$130)
The DYMO LabelWriter 550 is a different class of device. It’s a desktop label printer that connects to your computer via USB and prints direct-thermal labels — no ink, no toner, just heat. You can print shipping labels, file folder labels, address labels, barcode labels, and supply room bin labels all from the same machine. It handles rolls of labels rather than tape cassettes, which is faster and cheaper per label at volume.
At $130 for the machine, with label rolls running $15-$30, this is overkill for a small closet but genuinely useful if you’re managing a real office supply room, a shipping department, or file storage. It connects to DYMO Label software, Google Workspace, and major platforms natively.
Trade-off: more expensive upfront, requires PC/Mac connection for full functionality, label rolls have a specific size.
Best for: Larger offices, shipping + filing + supply room combined labeling, volume use.
Wireless Option: Brother PT-P710BT (~$70)
If you want Bluetooth so you can design and print labels from your phone, the Brother PT-P710BT pairs with the free Brother P-Touch Design & Print app. The app is significantly better than the keyboard on the device itself for designing clean labels. Great for offices where multiple people need to print labels from their phones without hunting down the label maker itself.
Best for: Offices that want phone-controlled labeling, multiple users.
Best Organizational Tools for the Office Supply Room
Heavy-Duty Shelving: Wire Shelving Units (~$50-$150)
Wire shelving is the backbone of any well-organized supply room. Open wire shelves let you see everything at a glance, allow airflow to prevent moisture buildup, and are easy to wipe down. The standard 5-shelf wire unit (18″ x 48″ x 72″) holds a surprising amount and costs $50-$80. For a commercial supply room, look at NSF-certified chrome wire shelving that handles 500-800 lbs per shelf.
Popular options on Amazon include Seville Classics and Honey-Can-Do commercial units. If your supply room has a lot of small items, add shelf liners to prevent things from falling through the wire gaps.
Stackable Storage Bins (~$20-$40 per set)
Bins are how you go from “pile of stuff on a shelf” to “organized categories.” The key is standardizing on one bin system rather than mixing random containers. Akro-Mils stackable storage bins are a perennial favorite — they’re tough, available in multiple sizes, and stack neatly. For a supply room, buy a mix of small (for pens, clips, batteries) and medium (for tape, notepads, envelopes).
Label the front of every bin. Not “pens” — be specific: “Black Ballpoint Pens,” “Highlighters,” “Dry Erase Markers.” Specificity is what actually keeps things organized over time when 10 different people are accessing the same room.
Magazine Files and Binder Storage (~$15-$30)
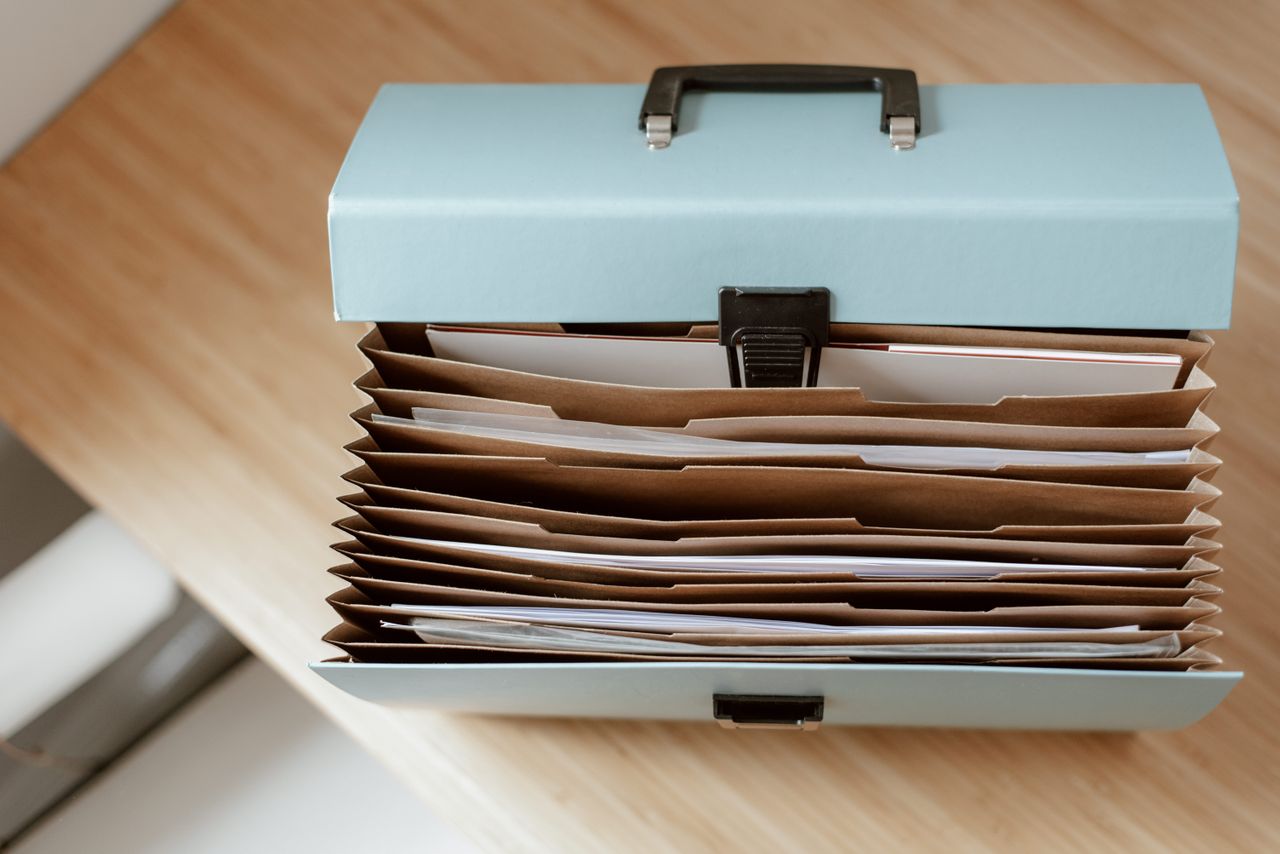
For keeping paper products upright and organized on shelves, magazine files and document storage boxes are cheap and effective. Label the spine of each one. Use them for: copy paper reams (standing upright), folders by color, owner’s manuals, frequently-used forms, and anything flat that tends to create messy stacks.
Drawer Organizer Units (~$30-$80)
A desktop-style multi-drawer plastic organizer on a shelf handles all the small stuff: staples, binder clips, rubber bands, correction fluid, push pins, batteries by size. These typically have 6-20 small drawers and keep tiny items from migrating into chaos. Clear drawers beat opaque ones so you can see what’s inside without pulling everything out.
Label Holder Clips for Shelves (~$10-$20)
Wire shelving label holders clip directly onto wire shelves so you can slide printed labels into them. This means labels can be updated without re-labeling the shelf itself — useful if you reorganize or change products. Wire shelf label holders cost almost nothing and make your supply room look like a professional stockroom instead of a storage closet.
Pegboard Wall Panels (~$30-$60)
If your supply room has wall space, a pegboard panel is one of the most versatile organizational tools you can install. Hang hooks, bins, and holders for scissors, tape dispensers, rolls of labels, charging cables, and anything that benefits from being visible and accessible. Pegboards cost $30-$60 for a 4’x4′ panel plus hardware, and the accessory hooks are cheap and interchangeable.
How to Set Up Your Supply Room the Right Way
Before you start buying bins and label tape, do a full inventory of what you’re actually storing. Pull everything out, group it by category, and throw away or donate anything you haven’t used in a year. Then zone your supply room by frequency of use: high-use items (pens, paper, tape) at eye level and easy reach, bulk backup stock on lower or higher shelves, rarely-used items in the back.
Once you have your zones, buy your bins and shelving to fit — not the other way around. Measure your shelves first. Nothing is more frustrating than buying a set of bins that doesn’t fit the shelf you own.
After setup, the most important step is a simple check-in system. Designate one person to do a weekly 5-minute walk-through to make sure things are back where they belong and to flag when supplies are running low. Without this, any organization system degrades within a month.
For more on setting up a complete supply room from scratch, including shelving specs and reorder checklists, see our guide on How to Set Up a Printing and Supply Room for Your Office. You can also grab the full Complete Office Supplies Checklist if you’re stocking from zero.
Quick-Reference Buying Guide
Here’s the short version by use case:
- Just need to label bins: Brother PTD210 (~$30) + stackable bins + wire shelving
- Multi-room office labeling: Brother PT-D600 (~$60) + shelf label holders
- Shipping + supply room combined: DYMO LabelWriter 550 (~$130)
- Phone-controlled labeling: Brother PT-P710BT (~$70)
- Best all-purpose organizational system: Wire shelving + Akro-Mils bins + pegboard + drawer organizer
The total cost for a well-organized supply room with good labeling and solid shelving runs $150-$400 depending on room size. That’s a one-time investment that pays for itself in the first few months through less time wasted and fewer duplicate purchases.
For more office gear recommendations, check out our full Best Office Furniture Under $1,000 guide and the Best Whiteboards for Office Meeting Rooms roundup.
The Bottom Line
Label makers and organizational tools aren’t glamorous, but a well-organized supply room is one of those small operational investments that quietly makes your whole office run better. Start with a good label maker, standardize on one bin system, and keep the zone structure consistent. You only have to do it once — then it basically maintains itself as long as the labels are clear and everyone knows where things go.
If you want more no-fluff recommendations for running a tighter operation, join the Hustler’s Library for free and get our best business owner resources delivered straight to you.
Ready to Know Where You Stand?
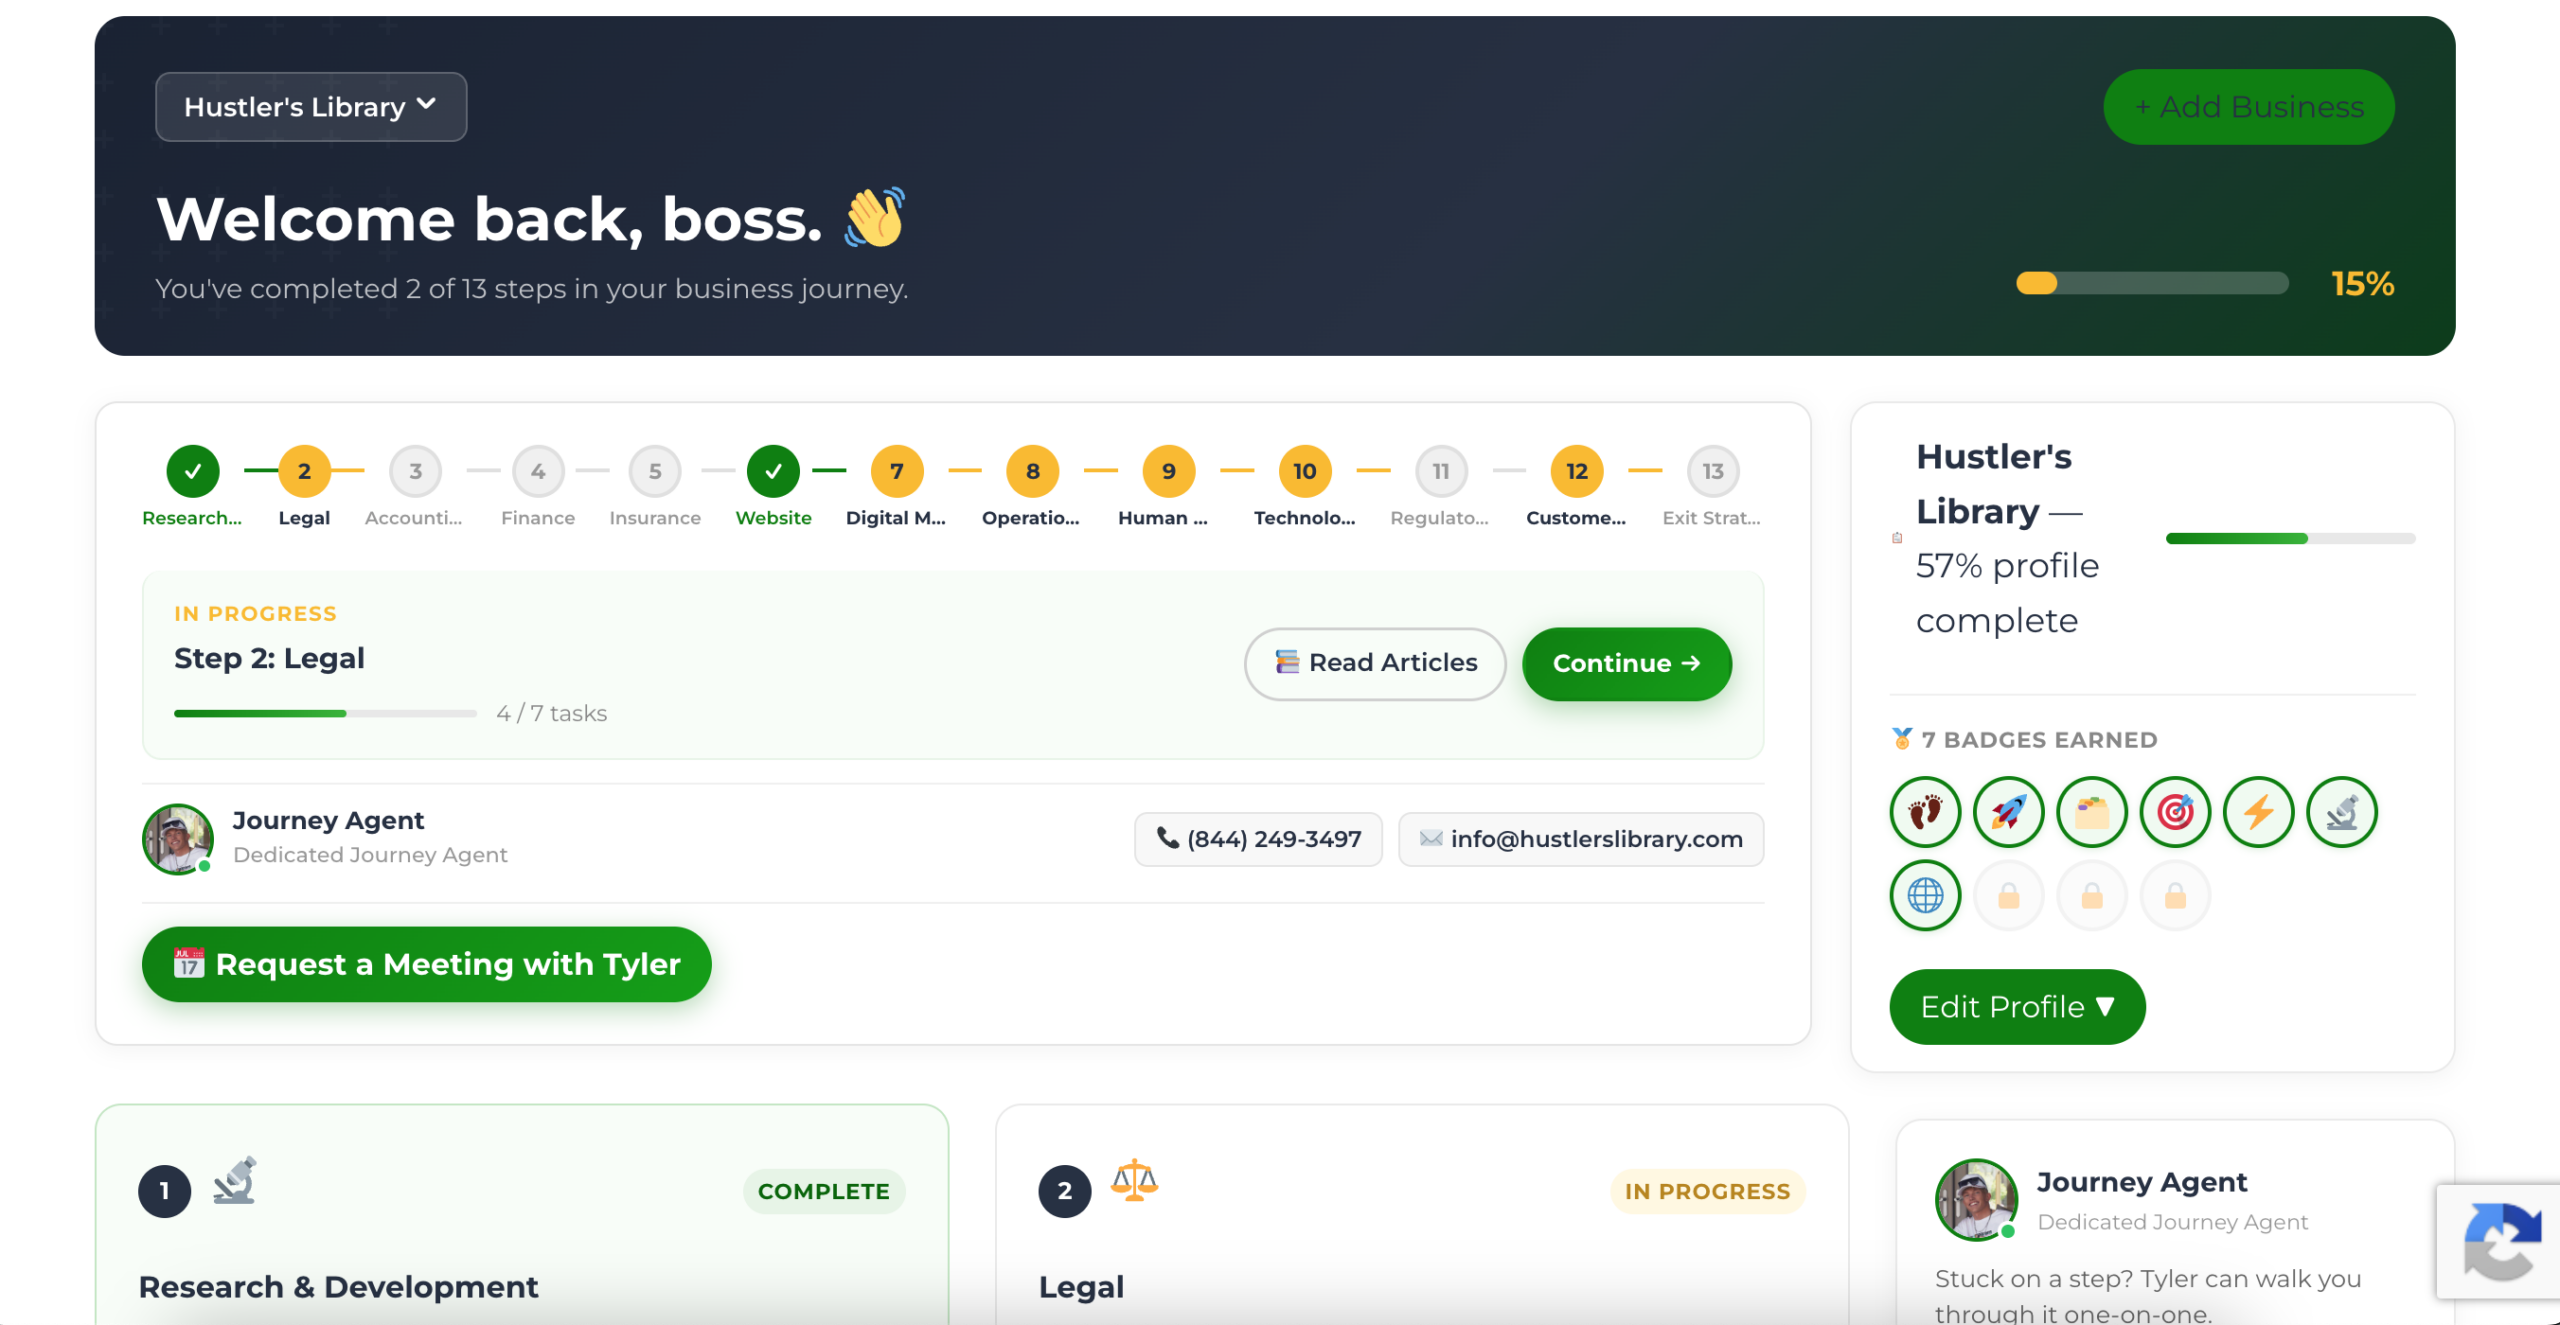
The Business Journey dashboard maps your exact position across all 13 stages. Track your progress, unlock resources for each step, and build with a framework used by thousands of founders at Hustler's Library.
No credit card required · Takes 3 minutes · Personalized to your stage